Cosplay Crafting for Newbies: Making DIY Weapons with Foam
In cosplay competitions, there is a category that is specifically for armor cosplay. Being able to build realistic looking daggers and swords, firearms, shields, and other weaponry is part of what makes cosplay really cool. For cosplay novices, it can be a huge step up from cardboard weapons to properly constructed accessories. So, here are some guidelines to help you during your first venture in making props and weapons for your next cosplay:
Steps on How to Make Any Cosplay Prop with Foam
Weapon Base
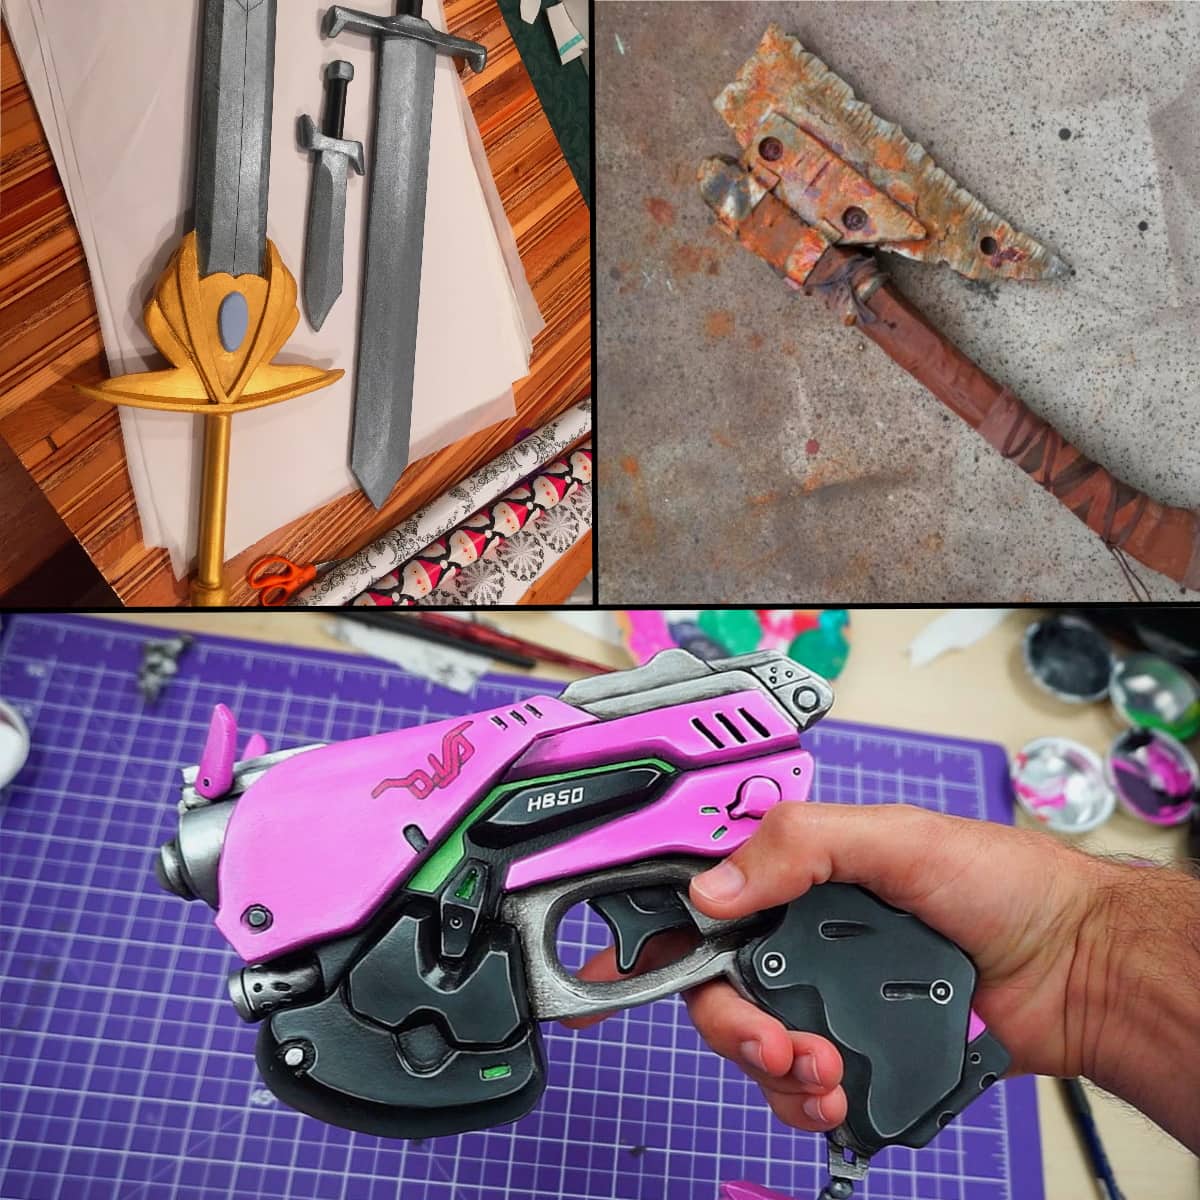
Cut the layers of EVA foam that will form your weapon using accurately measured patterns. You can find examples of these patterns on the internet that are free to download or you can make your own pattern. A good site for templates that I’ve found is bronavaro.com.
Usually, you need to use different foam pieces so you can get a better thickness for your weapon. Also, make sure to cut your foam pieces using a very sharp knife, or else you will get rough edges, which won’t look great.
In the middle of your foam pieces, you need to insert a core material to help make your base sturdy and less prone to bending and breaking. This core material can be a wooden dowel, a PVC pipe, a fiberglass rod, or any other available to you.
Use contact glue or contact cement when sticking the foam pieces and the core material together. Make sure to wait for the contact glue to dry and become tacky before adhering the two pieces together for a more secure bond.

Foam Cutting
Aside from using a sharp knife to cut your foam pieces with, you should make sure to cut the foam with one single pass to avoid any rough edges. It is best to have a sharpening stone with you while you are crafting with foam so you can save more time from sanding rough edges.
Once your base dries completely, you can sand the edges or cut off any unnecessary or extra bits of foam. Use any industrial sander or any fine grit sandpaper for this step. You can also use a heat gun or a hair dryer to melt any small foam pieces that might have stuck around after sanding or cutting.
One great tip for covering mistakes when it comes to over-cutting your foam is to use foam clay to fill in any gaps. If you don’t have foam clay, you can heat up scrap foam and try to work it into the gaps.