Guidelines and Tips for Crafting Cosplay Helmets
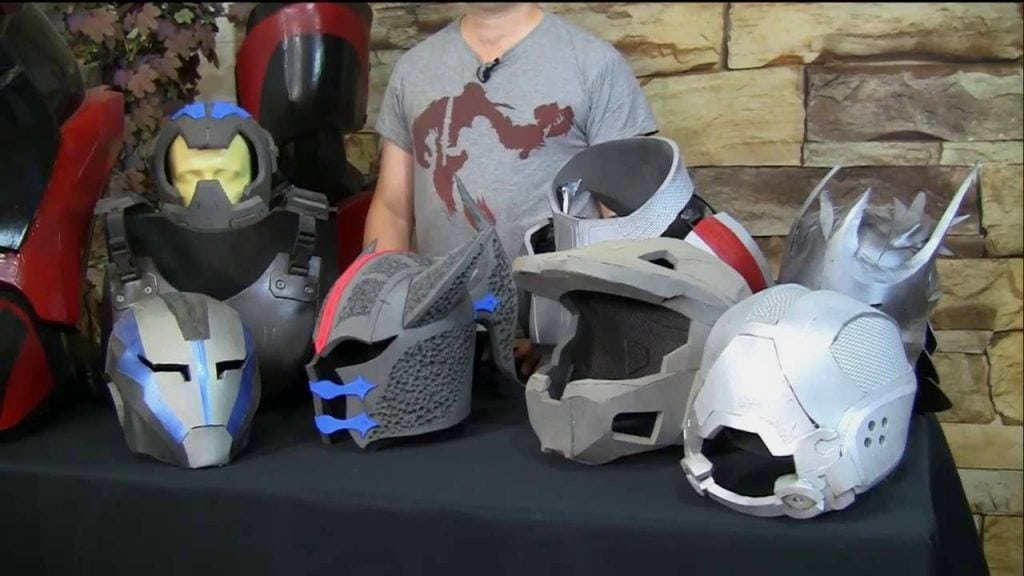
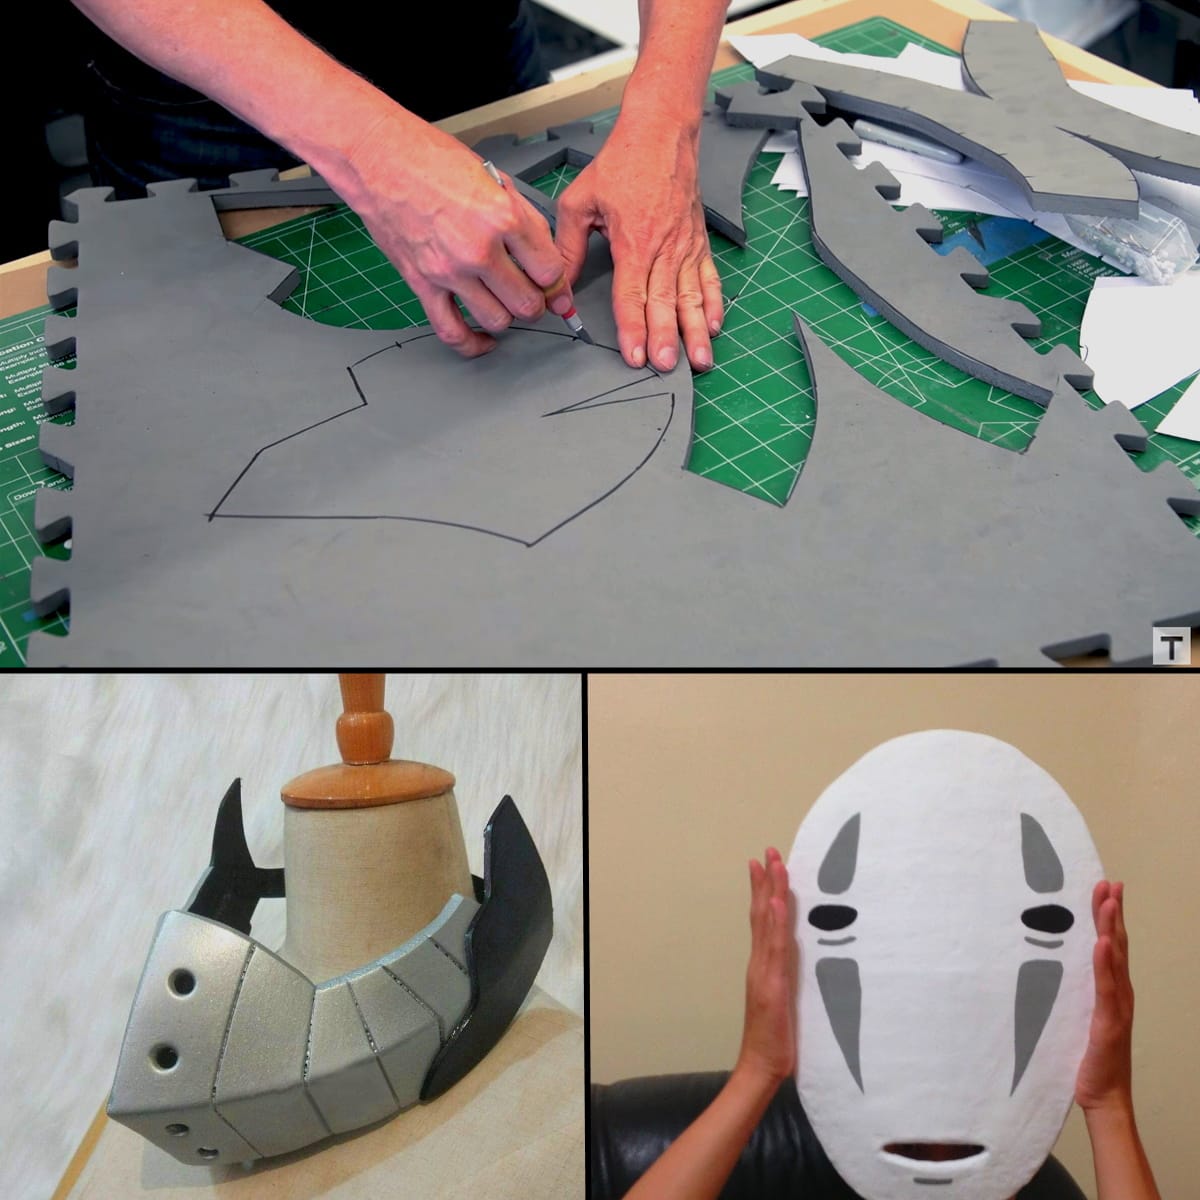
Having a helmet when you’re cosplaying characters with an armor is really important. However, cosplay helmets are known to be one of the most difficult pieces to pattern. However, worry not: even though it’s challenging, building your own helmet is still very possible. This article can serve as your guideline on how you can get started with helmet crafting for cosplay.
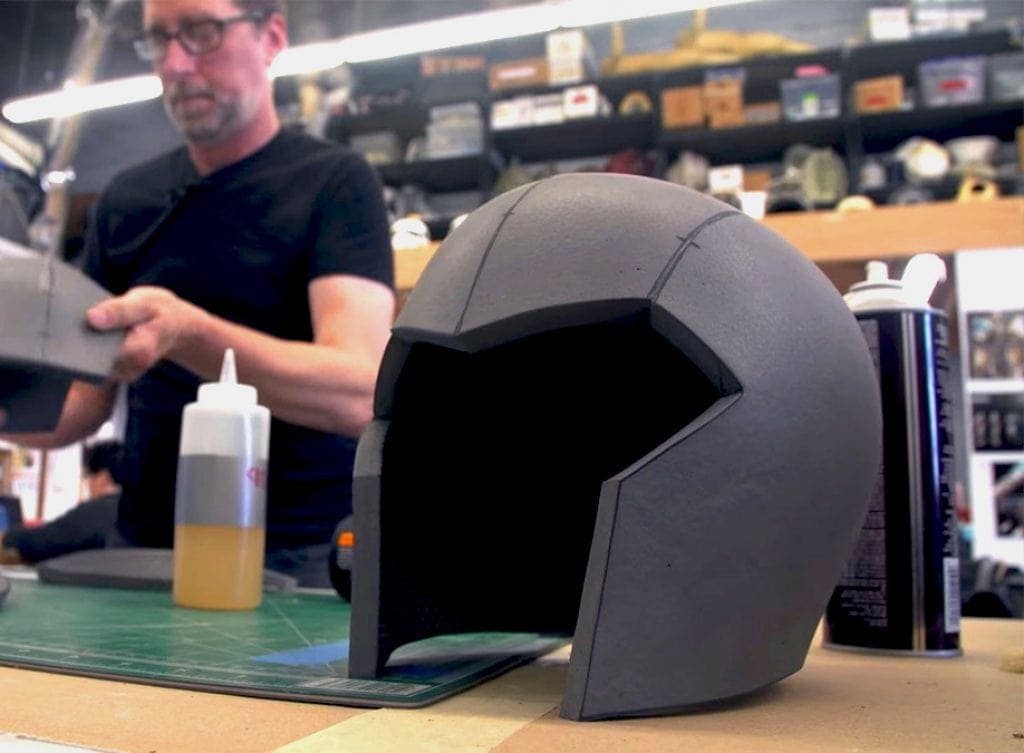
Essential Materials and Tools:
Helmet pattern
EVA foam (thickness, density, and color of your choice)
Industrial heat gun
Contact glue or contact cement
Sharp utility knife or cutter
Cutter sharpener
Pen or marker

How to Make your Own Helmet Pattern
Professional cosplayers usually already have a customized head form for their own crafting needs. But, if you are still starting out with cosplay and armor making, don’t worry since you can create a head form for yourself. Here is a good DIY method to help you create your own pattern for your helmet:
- Using plastic wrap or aluminum foil, wrap the part of your head that you want to cover with the helmet.
- Next, secure the area where your helmet will start and end using duct tape. Be careful around your hair and skin; don’t let the tape touch anything but the layer of tin foil or plastic wrap underneath.
- Draw marks on the duct tape to outline the shape and design of your helmet and create the ideal helmet pattern.
- Carefully take off the materials from your head and cut out the markings that you have made. Do remember to label each part as you go so that you can assemble everything correctly afterward.
Tips on Perfecting your Cosplay Helmet
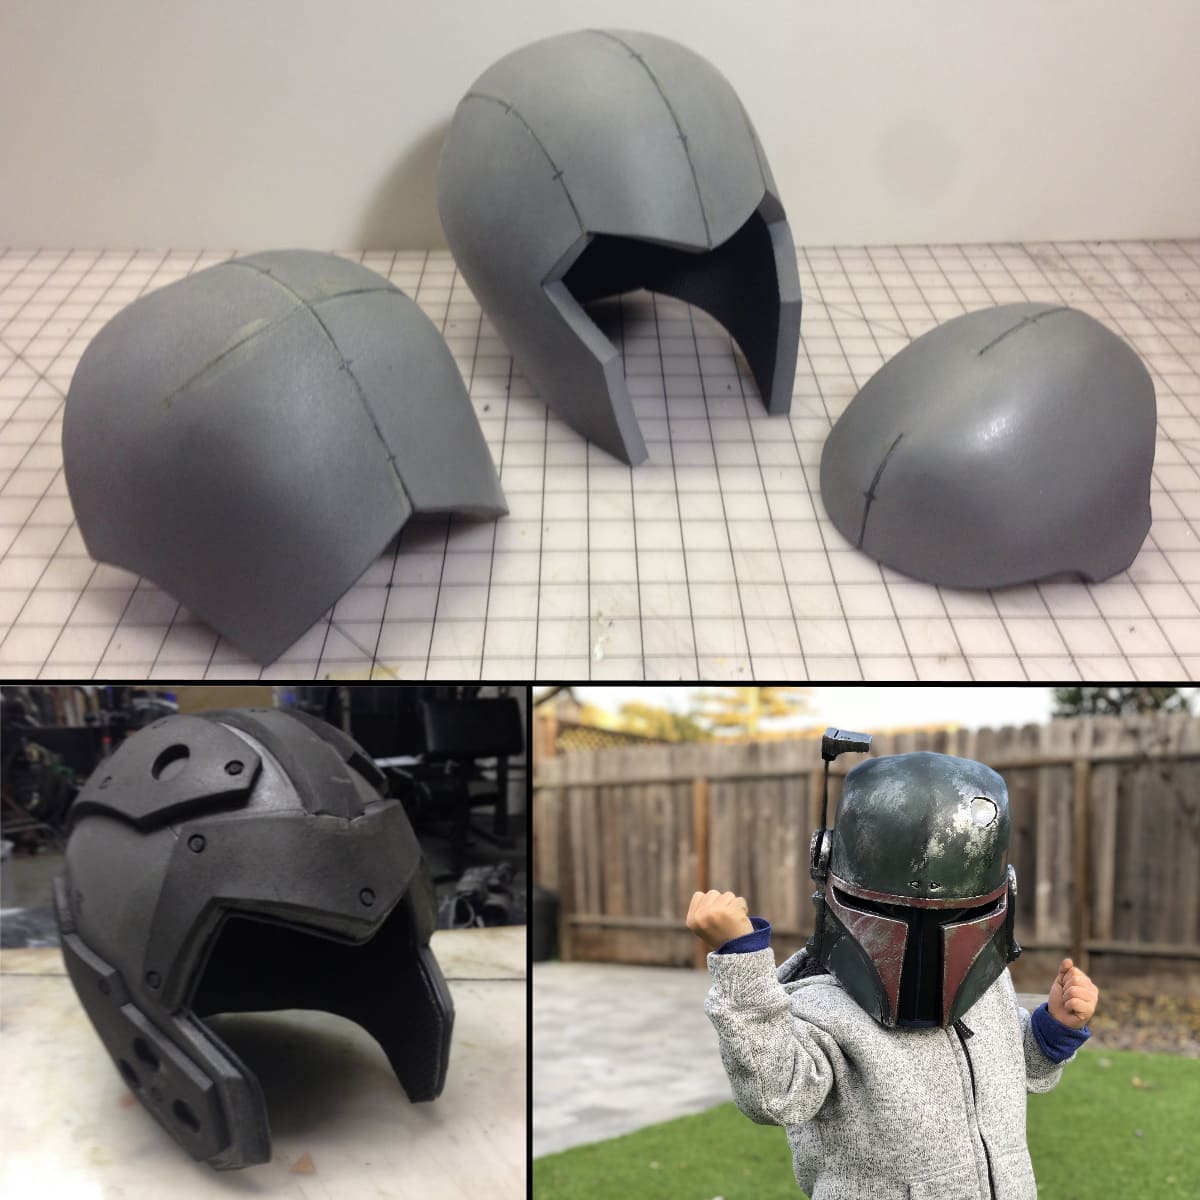
1# To avoid wasting money, you can practice making your pattern first on paper. Cut out each part and tape them together to form a paper helmet. Wear it to check if it fits your head nicely and ensure that it reflects the design that you have in mind.
2# When creating your pattern, you can use a pen to mark the areas where you need to align your foam pieces to form a curve. You can use your thumb to line them up and create flushed seams.
3# Since a helmet has a curved surface, you should make sure that your contact glue or contact cement has the right consistency before gluing together your foam pieces. This is to make sure your pieces stay glued together and will form a nice curve and not get undone.
4# Use your heat gun after gluing all your foam pieces together to make the seam edges more malleable. You can then smooth out the surface if needed.
Why not take a look at how to make cosplay armor next?
